Known for its wide range of features even for free-tier users, Cloudflare is regarded as one of the industry leaders in DNS and website security services.
When users host their domain in Cloudflare, they can enjoy various enterprise-grade features for free or cheap, such as flexible SSL certificates, website firewall, address redirection, and DDoS protection.
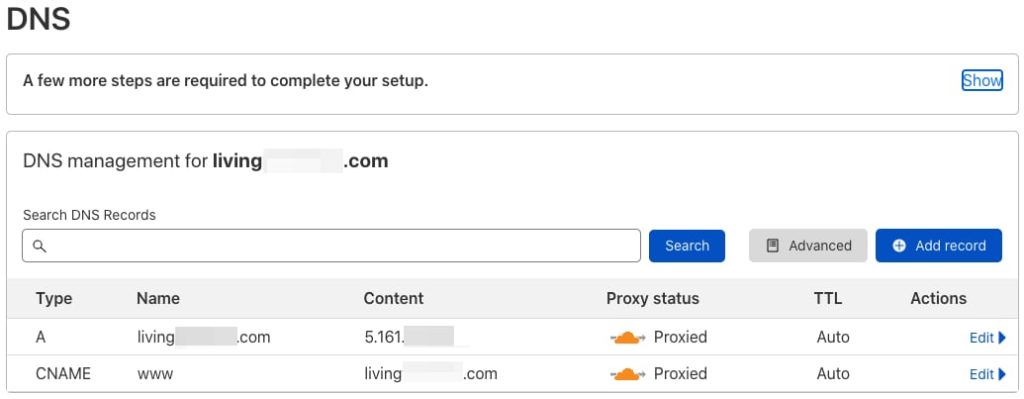
Once a domain is hosted there, users can also create a lot of DNS records with support for most known DNS types, from regular A and CNAME to more exotic ones such as TXT which is used to verify domain ownership.
However, with a focus on security, Cloudflare considers a few situations to be off-limit from their service by default, and users need to contact Cloudflare support to have it enabled on an account basis.
Some features are also limited to the Pro or Enterprise plan. For example, after adding a CNAME record, users might run to this error:
Error 1014 CNAME Cross-User BannedWhat Happened?
You’ve requested a page on a website that is already part of the Cloudflare network. The host is configured as a CNAME across accounts on Cloudflare, which is prohibited by the security policy.

Simply put, you can’t make a CNAME record that points to another Cloudflare proxied domain.
How to Fix Error 1014 CNAME Cross-User Banned?
This “Error 1014 CNAME Cross-User Banned” error occurs when the address in CNAME record is pointed to a domain/subdomain hosted by Cloudflare. For security, Cloudflare does not allow crosslinking of CNAME records unless it was under Cloudflare for SaaS platform.
By default, Cloudflare prohibits a DNS CNAME record between domains in different Cloudflare accounts.
CNAME records are permitted within a domain (www.example.com CNAME to api.example.com) and across zones within the same user account (www.example.com CNAME to www.example.net) or using our Cloudflare for SaaS solution.”
What is Cloudflare for SaaS?
Cloudflare for SaaS is a service that allows external users to link their custom domain to their own domain. For example, a user’s microsite in site.domain.com can be hosted in your Cloudflare-enabled domain at service.server.com.
This service is available for any paid Cloudflare users. Cloudflare paid plans to start from $5 per month and come with various service limits according to the plan you choose. Further information about Cloudflare’s paid plan can be accessed at https://developers.cloudflare.com/ssl/ssl-for-saas/plans/.
After subscribing to the paid plan, you need to set up Cloudflare for SaaS. Begin by setting up the fallback origin and CNAME target, which are used by external users to link to your domain name.
Per Cloudflare’s suggestion, it is recommended that you use a domain that is not your company’s main domain (such as for example.cloud if your company’s main domain is example.com) to reduce an attack surface. After setting up the record, you can go to “SSL/TLS > Custom Hostname” to enable Cloudflare for SaaS.
What’s Next?
You need to verify domain ownership through certificate verification and hostname validation. The easiest method to do certificate verification is by creating a TXT record with the values that can be found in “Certificate Validation TXT Name” and “Certificate Validation TXT Value”.
Custom hostname validation values can be done in a similar way. Then, wait until the DNS changes are propagated and try re-linking your CNAME values.
If for some reason CNAME cross-linking is still unavailable, you can opt to host your domain in your own nameserver or use third-party DNS hosting services.
Most domain registrars have DNS hosting features that, while not as complete as Cloudflare, still can be used for this purpose. Simply re-point the domain you want to create the CNAME of to its registrar’s nameservers and use the registrar’s DNS management feature to add a CNAME pointing to a Cloudflare-hosted DNS.

We are a bunch of people who are still continue to learn Linux servers. Only high passion keeps pushing us to learn everything.

