In today’s guide we will teach you on how to install Grafana K6 on Rocky Linux 8.5. Before moving into the installation step, we will ask you some fundamental knowledge about what is actually K6? So, Grafana K6 is a free, open-source load testing tool to doing easily performance testing and productive dor engineering teams. You can use K6 freely without spend money to use it, since it free open-source software (FOSS), developer-centric, and extensible.
You can know the stability and reliability of your system performance after doing test with Grafana K6. Currently Grafana k6 is maintenanced and developed by Grafana Labs and open-source software community. So, you can catch performance regressions and issues found on your system previously. Using K6 you can also build resilient and scalable applications.
PRE-REQUISITES:
* VPS, Cloud, or Bare-Metal Server
* Running under Linux-Based Operating System
* Server IPv4 Address with Superuser Privileges (Root Access)
* Gnome Terminal for Linux Desktop
* PuTTy SSH Client for Windows or Mac
* Powershell for Windows 10/11
1.) Adding Fedora/CentOS Repository
K6 are available for some operating system like Windows, Linux and Mac or even you can run Grafana K6 on Docker container and a standalone binary. From this step we will use a Fedora/CentOS repository to install Grafana K6 on Rocky Linux 8.5. You can use a yum or dnf command.
$ dnf install https://dl.k6.io/rpm/repo.rpm
2.) Install Grafana K6
Simply run the following command to install Grafana K6 on your Rocky Linux machine.
$ dnf install k6
3.) Running K6 on Local Tests
Before doing in production environment, you can running local test with Grafana K6. We will write simple local script to make K6 running on local system. Simply create a file called a script.js and then paste the following code into script.js file.
import http from 'k6/http';
import { sleep } from 'k6';

export default function () {
http.get('https://test.k6.io');
sleep(1);
}
Then don’t forget to save above file and it will make K6 running with your machine resource. However, you can also run the test on your cloud server with the same methods.
4.) Let’s Run K6
After that simply run the following command to working K6 on your machine.
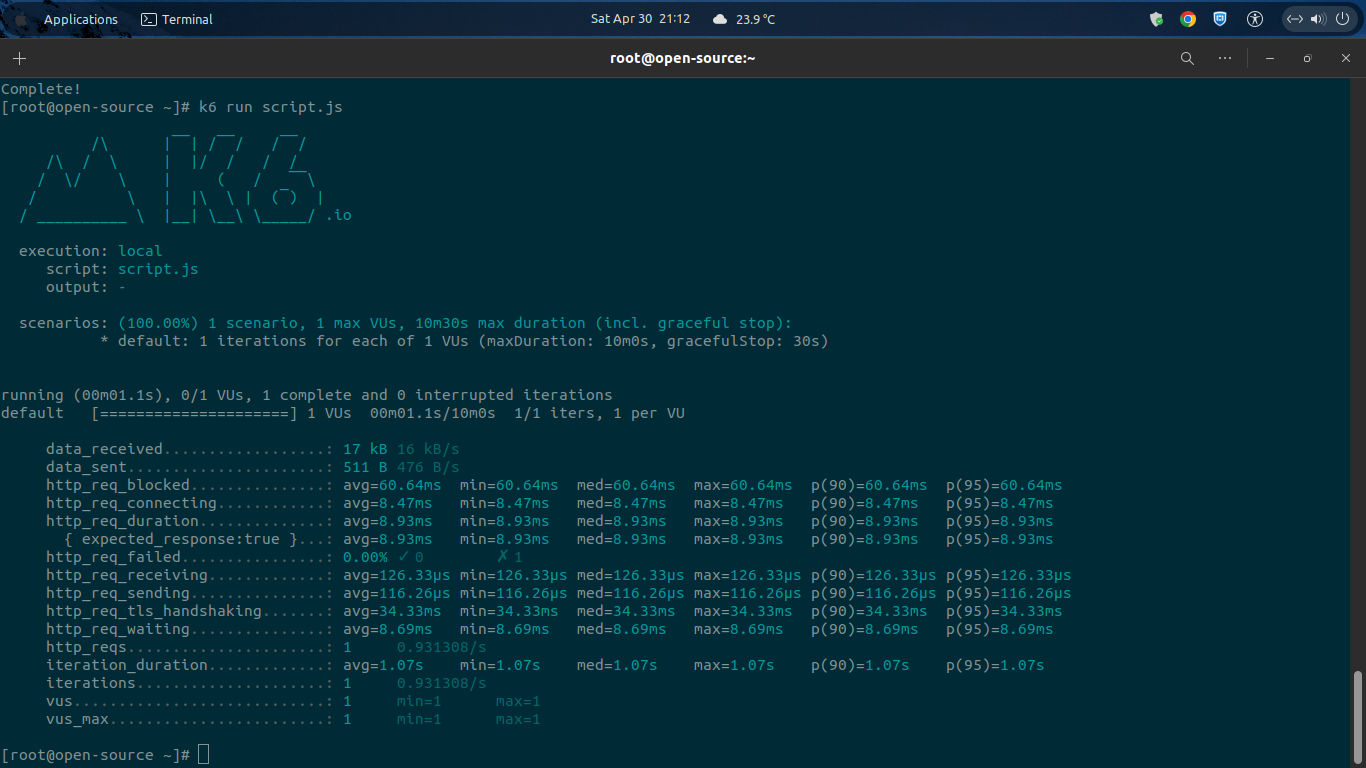
$ k6 run script.js
And the output as below or similar with this one.
/\ |‾‾| /‾‾/ /‾‾/
/\ / \ | |/ / / /
/ \/ \ | ( / ‾‾\
/ \ | |\ \ | (‾) |
/ __________ \ |__| \__\ \_____/ .io

execution: local
script: script.js
output: -

scenarios: (100.00%) 1 scenario, 1 max VUs, 10m30s max duration (incl. graceful stop):
* default: 1 iterations for each of 1 VUs (maxDuration: 10m0s, gracefulStop: 30s)

running (00m01.1s), 0/1 VUs, 1 complete and 0 interrupted iterations
default [=====================] 1 VUs 00m01.1s/10m0s 1/1 iters, 1 per VU

data_received..................: 17 kB 16 kB/s
data_sent......................: 511 B 476 B/s
http_req_blocked...............: avg=60.64ms min=60.64ms med=60.64ms max=60.64ms p(90)=60.64ms p(95)=60.64ms
http_req_connecting............: avg=8.47ms min=8.47ms med=8.47ms max=8.47ms p(90)=8.47ms p(95)=8.47ms
http_req_duration..............: avg=8.93ms min=8.93ms med=8.93ms max=8.93ms p(90)=8.93ms p(95)=8.93ms
{ expected_response:true }...: avg=8.93ms min=8.93ms med=8.93ms max=8.93ms p(90)=8.93ms p(95)=8.93ms
http_req_failed................: 0.00% ✓ 0 ✗ 1
http_req_receiving.............: avg=126.33µs min=126.33µs med=126.33µs max=126.33µs p(90)=126.33µs p(95)=126.33µs
http_req_sending...............: avg=116.26µs min=116.26µs med=116.26µs max=116.26µs p(90)=116.26µs p(95)=116.26µs
http_req_tls_handshaking.......: avg=34.33ms min=34.33ms med=34.33ms max=34.33ms p(90)=34.33ms p(95)=34.33ms
http_req_waiting...............: avg=8.69ms min=8.69ms med=8.69ms max=8.69ms p(90)=8.69ms p(95)=8.69ms
http_reqs......................: 1 0.931308/s
iteration_duration.............: avg=1.07s min=1.07s med=1.07s max=1.07s p(90)=1.07s p(95)=1.07s
iterations.....................: 1 0.931308/s
vus............................: 1 min=1 max=1
vus_max........................: 1 min=1 max=1
CONCLUSIONS:
You have successfully in setting up Grafana K6 on Rocky Linux 8.5. You can do it on your self, either it run on local system or cloud compute like AWS or GCP.


