MySQL 8.0 is the current long-term support stable-release of MySQL database server. It initially released on April 19, 2018 and will reached its end of life (EOL Date) on April, 2026. MySQL AB offering some installation instruction on many Linux distribution system with a few method like using YUM repository for RedHat-based distros, APT repository for Debian/Ubuntu family, or using SLES software repository.
If you’re running your machine under Oracle Linux you can also using RPM packages management system to deploy MySQL 8.0 on your server. Beside that, Oracle also provide Debian package manager to install this RDBMS on any Debian-based distros. Or you can use Docker as well to deploy MySQL 8.0 database server.
As you know MySQL is a free, open-source, and popular relational database management system which can be installed on almost all operating system, either it on Linux, Windows or MacOS. It’s all available on community editions, so if you want give full-technical support from MySQL team you can buy the paid editions of MySQL, including Standard, Enterprise, or Cluster Carrier Grade Edition.
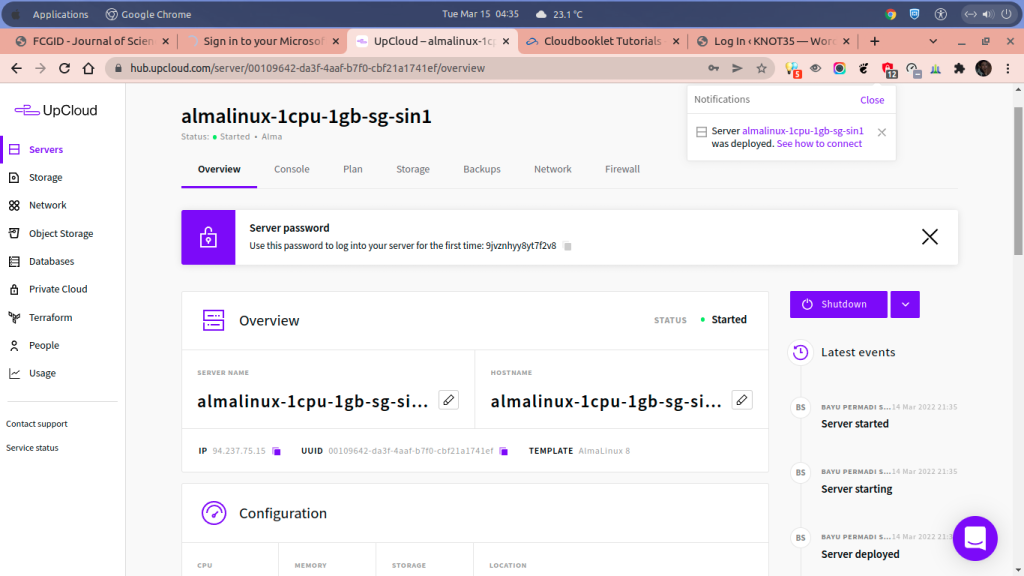
Well, today I will teach you on how to install MySQL 8.0.26 database server on AlmaLinux 8.5 and I will deploy it under cheap $5 cloud server from UpCloud. AlmaLinux OS is clone of Red Hat Enterprise Linux and using the same binary and source codes from RHEL. So it’s binary-compatible and 100% bug-for-bug with its upstream vendors. Although it’s free and open-source operating system built for community, however, AlmaLinux is backed by CloudLinux, inc, a company behind cPanel-WHM and Plesk which focused on web hosting industries for years. And they get $1M annual sponsorship from the CloudLinux, inc and also support from another sponsors.

Kindly follow this tutorial to install and configure MySQL 8.0 database server on AlmaLinux 8.5. Don’t forget to take your a coffe during the installation progress.
PREREQUISITES:
* VPS, CLoud or Bare Metal
* Superuser Privileges (Root Access)
* Server IPv4 Address & Its Password
* Running Under AlmaLinux 8.5 OS
* Gnome Terminal for Linux Desktop
* PuTTy SSH Client for Windows or MacOS
1.) Firts of all, let’s run system update firts since you have freshly deployed VM. So your machine will gets the latest available software, packages, apps, and Linux Kernel updates from the official vendors repository. You can using both yum or dnf commands.
$ ssh [email protected] -p22
Password:
$ yum update
PLEASE NOTE: On this tutorial I use default SSH Terminal on Linux Gnome Desktop
94.237.75.15 is my server IPv4 address
So make sure to change with your actual server IPv4 address.
2.) Then simply login to Oracle.com and download the MySQL 8.0 YUM Repository using the following command. Since Alma Linux OS is fully-based on Red Hat Enterprise Linux 8, so we can easily using “RHEL 8 / Oracle Linux 8 (Architecture Independent) RPM Package which available on MySQL Community Downloads page.
$ yum install https://dev.mysql.com/get/mysql80-community-release-el8-3.noarch.rpm
3.) Verify that the MySQL 8.0 YUM Repository has been successfully added to your machine using the following command.
$ yum repolist enabled | grep "mysql.*-community.*"
mysql-connectors-community MySQL Connectors Community
mysql-tools-community MySQL Tools Community
mysql80-community MySQL 8.0 Community Server
4.) Apart from that, you can also make a list of MySQL Repository which available on your machine. Simply run the following command to list that.
$ yum repolist all | grep mysql
mysql-cluster-8.0-community MySQL Cluster 8.0 Community disabled
mysql-cluster-8.0-community-source MySQL Cluster 8.0 Community - Source disabled
mysql-connectors-community MySQL Connectors Community enabled
mysql-connectors-community-source MySQL Connectors Community - Source disabled
mysql-tools-community MySQL Tools Community enabled
mysql-tools-community-source MySQL Tools Community - Source disabled
mysql-tools-preview MySQL Tools Preview disabled
mysql-tools-preview-source MySQL Tools Preview - Source disabled
mysql80-community MySQL 8.0 Community Server enabled
mysql80-community-source MySQL 8.0 Community Server - Source disabled
As you can see on the output command above that almost all MySQL Repository it’s disabled by default, and only a few repository is enabled automatically.
5.) Enable Repository for MySQL 8.0 Community Edition.
We need to enable firts the subrepository for the specific series of the latest MySQL editions before running the installer command. It should you do if you want to setting up the latest version of MySQL on your machine. However, no configuration is needed if we want to deploy the latest General Availability (GA) Release of MySQL 8.0.
Or you can enable it on mysql-community.repo or mysql-community-source.repo under directory of /etc/yum.repos.d/. See the following screenshots.
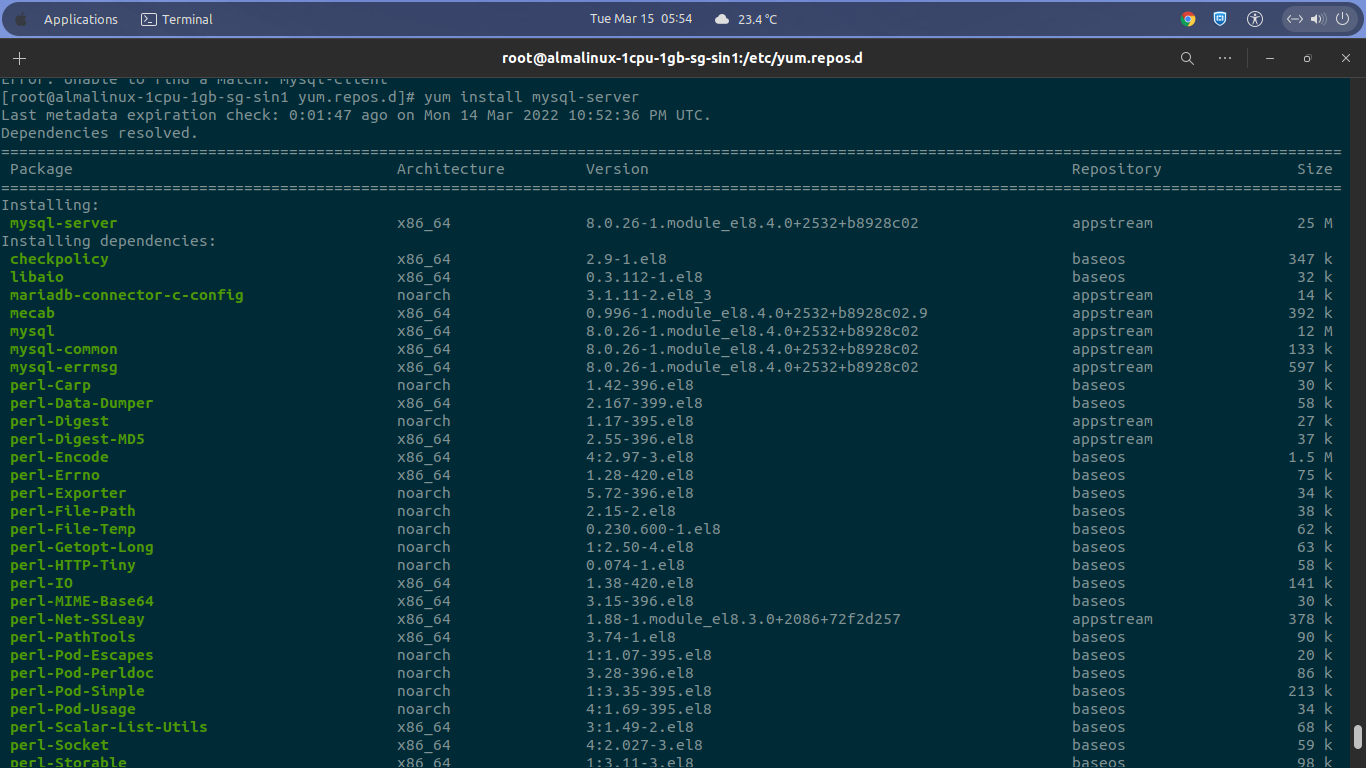
6.) Let’s Install MySQL 8.0 Community Edition Using the Following Command.
$ yum install mysql-server
7.) Enable, Start and Securing MySQL 8.0 Server Environment. You can set the new MySQL Administrative Root Password during the securing your MySQL 8.0 server.
$ systemctl enable mysqld.service
Created symlink /etc/systemd/system/multi-user.target.wants/mysqld.service → /usr/lib/systemd/system/mysqld.service.
$ systemctl start mysqld.service
$ mysql_secure_installation
Securing the MySQL server deployment.
Connecting to MySQL using a blank password.

VALIDATE PASSWORD COMPONENT can be used to test passwords
and improve security. It checks the strength of password
and allows the users to set only those passwords which are
secure enough. Would you like to setup VALIDATE PASSWORD component?

Press y|Y for Yes, any other key for No:
Please set the password for root here.

New password:

Re-enter new password:
By default, a MySQL installation has an anonymous user,
allowing anyone to log into MySQL without having to have
a user account created for them. This is intended only for
testing, and to make the installation go a bit smoother.
You should remove them before moving into a production
environment.

Remove anonymous users? (Press y|Y for Yes, any other key for No) : y
Success.

Normally, root should only be allowed to connect from
'localhost'. This ensures that someone cannot guess at
the root password from the network.

Disallow root login remotely? (Press y|Y for Yes, any other key for No) : y
Success.

By default, MySQL comes with a database named 'test' that
anyone can access. This is also intended only for testing,
and should be removed before moving into a production
environment.

Remove test database and access to it? (Press y|Y for Yes, any other key for No) : y
- Dropping test database...
Success.

- Removing privileges on test database...
Success.

Reloading the privilege tables will ensure that all changes
made so far will take effect immediately.

Reload privilege tables now? (Press y|Y for Yes, any other key for No) : y
Success.

All done!
8.) Verify MySQL Version using the following command.
$ mysql -V
mysql Ver 8.0.26 for Linux on x86_64 (Source distribution)
On step-8 above we have done in deploying MySQL 8.0 database server on a cloud vps running under Alma Linux 8.5 OS. We will contine to the next article on how to create database, user, password and grant the proper privileges on a database to its user.


