Running LEMP Stack (Linux, Nginx, MariaDB & PHP) might be the best solution for the majority of virtual private server users. Especially when we have a website with very busy daily traffic.
We can build a very fast server and lighter without control panel. Since it’s not using a web-based interface, memory and CPU consumption will definitely be significantly reduced compared to when we use the control panel.
NGINX is a free-open-source, high-performance HTTP server and can work as reverse proxy as well in front of Apache web server.
We all know that Nginx is famous for its high-performance, better stability, lower resource consumption (CPU and RAM) than Apache, and rich features.
However, Nginx must run with PHP-FPM (PHP FastCGI Process Manager) to handle each PHP process and to get the best performance.
Of course, PHP-FPM has better and faster performance compared to the traditional mod_php (DSO) module or older PHP handler like CGI with SuEXEC.
In this tutorial I will show you how to install and configure Nginx with HTTP/2 support, PHP7.3-FPM and MariaDB on Ubuntu 18.04 LTS server.
Well, to build LEMP Stack we need fresh Ubuntu 18.04 LTS and make sure to always use the minimal installation version. This guide should also work well in previous versions of the Ubuntu LTS server like Ubuntu 16.04 LTS.
1.) Login to your server with root privileges and install the following packages:
$ apt-get install software-properties-common -y
$ apt-get install nano wget telnet screen zip unzip -y
2.) And before moving to the next step, please update your Ubuntu system first.
$ apt-get update
$ apt-get upgrade
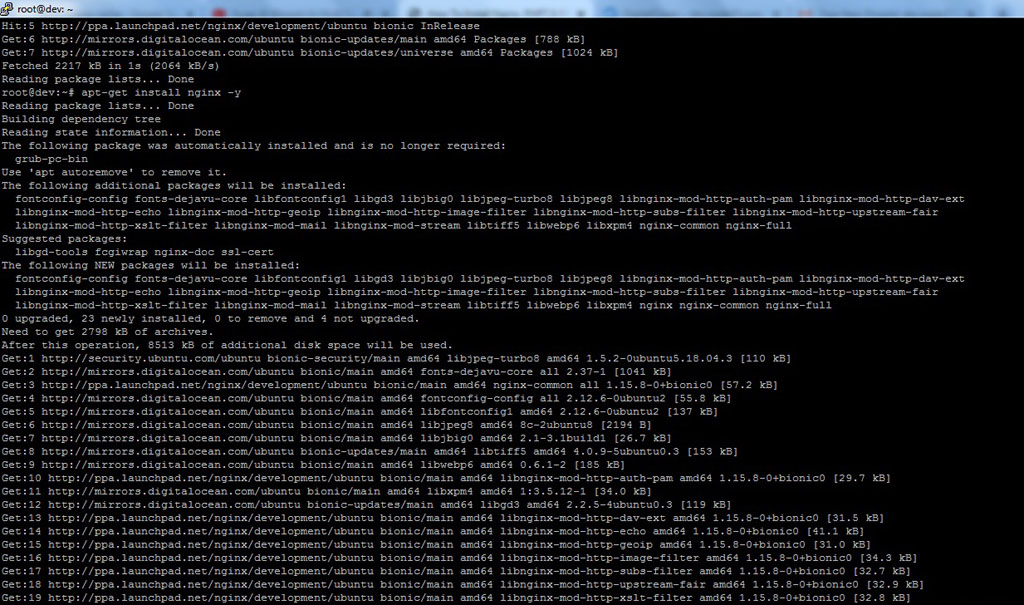
3.) Let’s install Nginx… If you want to install Nginx from the official Ubuntu repository, just run the following command directly via your SSH terminal:
$ apt-get install nginxHowever, I would recommend you to use NGINX PPA on Launchpad. Since NGINX PPA offers the latest stable version of Nginx (both the stable and mainline branches) and offers additional modules that are very important for most users.
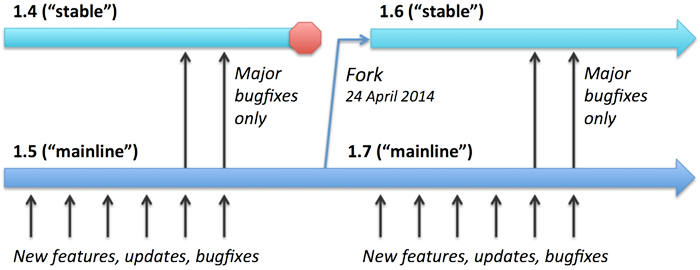
In an Nginx installation, you can choose to use the Stable or Mainline branches. However, I would recommend you to use the Nginx mainline since it’s more reliable and bug-free.
Please see the following image to compare the stable and mainline branches of the Nginx web server.
STABLE BRANCH:
$ add-apt-repository ppa:nginx/stable
$ apt-get update
$ apt-get install nginx
MAINLINE BRANCH:
$ add-apt-repository ppa:nginx/development
$ apt-get update
$ apt-get install nginx
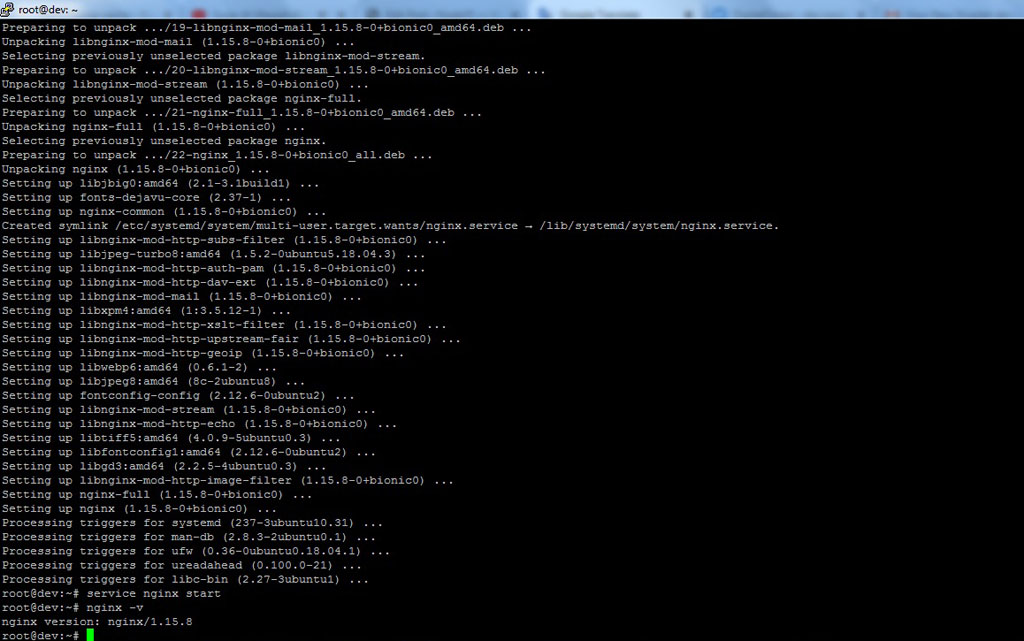
Start Nginx Web Server
$ service nginx startCheck Nginx Version
root@dev:~# nginx -v
nginx version: nginx/1.15.8
Please note if you want to switch from the Nginx stable branch to the Nginx mainline, you must first delete the Nginx stable PPA repo in the /etc/apt/sources.list.d directory.
After that, you need to add Nginx Mainline PPA to your Ubuntu system. In this tutorial we use Nginx mainline version 1.15.8.
4.) After we successfully installed the Nginx web server, we can proceed to installing PHP7.3-FPM.
In this guide I will use Ondrej Surý PPA to install the latest version of PHP7.3-FPM on the Ubuntu LTS server.
$ LC_ALL=C.UTF-8 add-apt-repository ppa:ondrej/php
$ apt-get update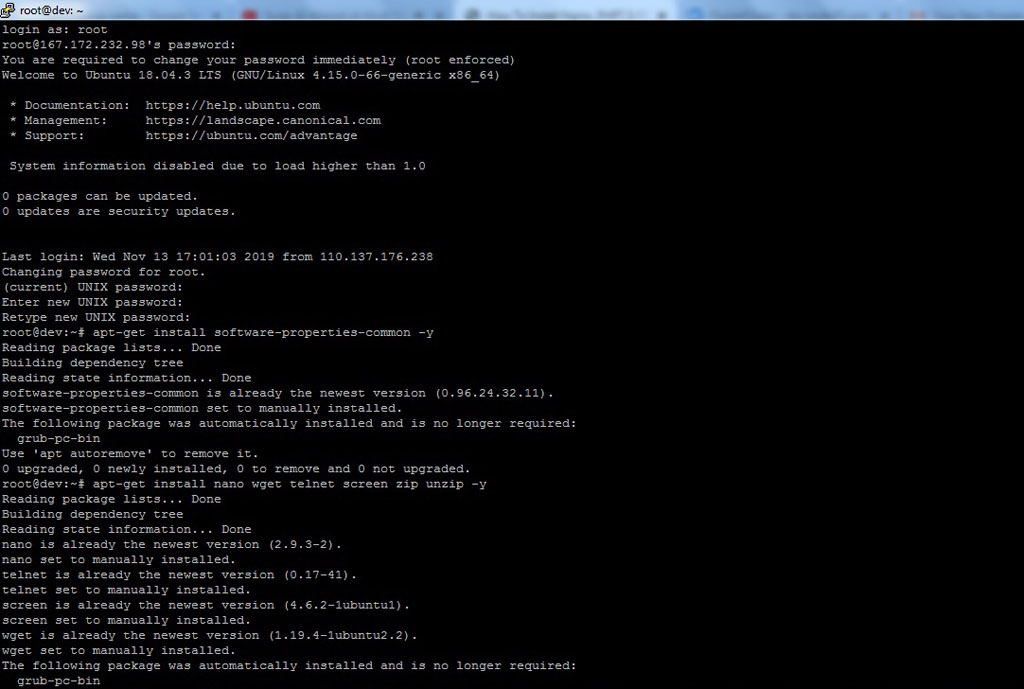
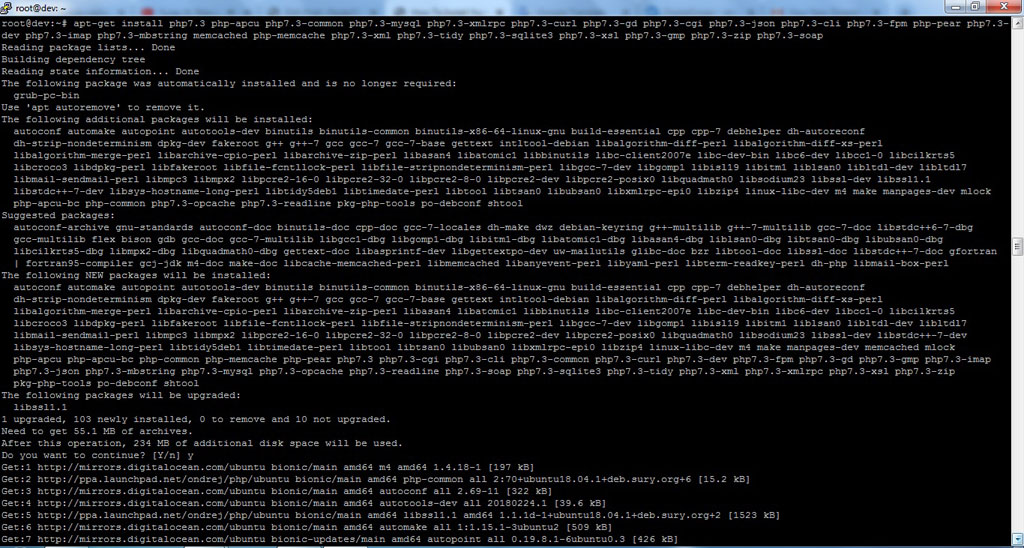
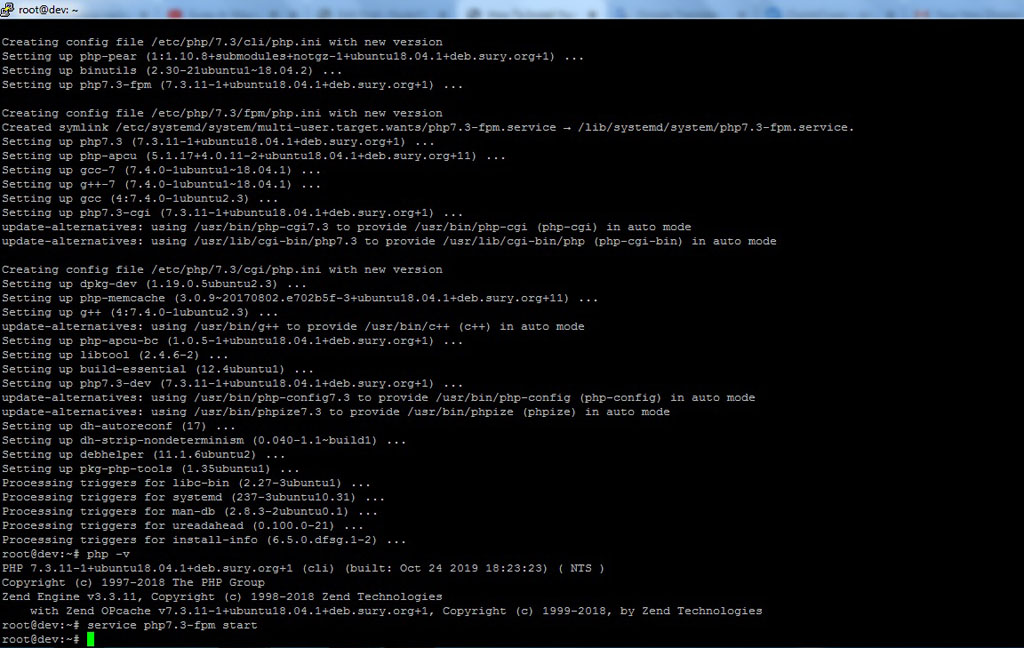
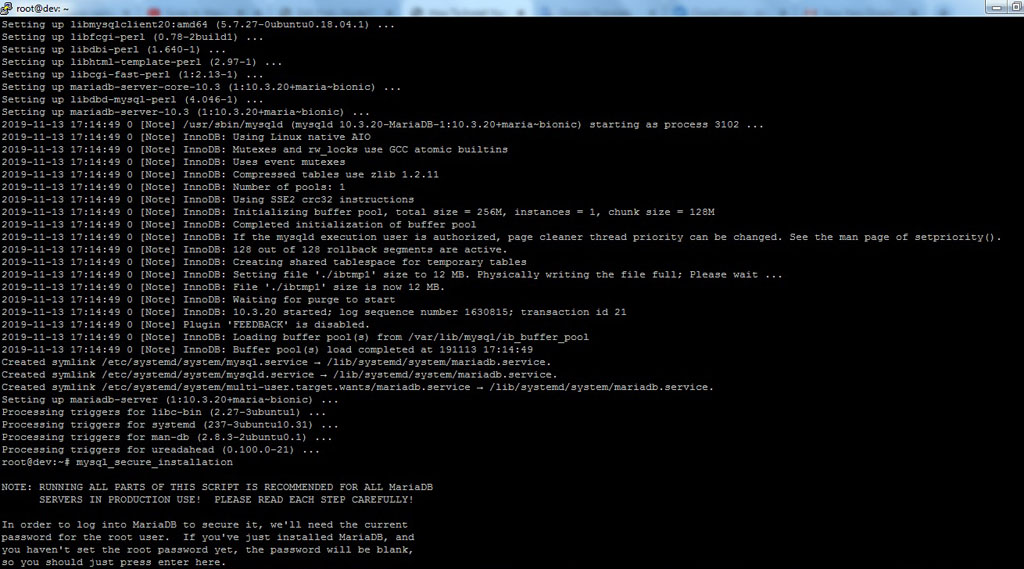
Finally, let’s install PHP 7.3 with FastCGI Process Manager. PHP-FPM has long been known as an alternative PHP FastCGI that is able to handle heavy-loaded sites with super busy traffic.
$ apt-get install php7.3 php-apcu php7.3-common php7.3-mysql php7.3-xmlrpc php7.3-curl php7.3-gd php7.3-cgi php7.3-json php7.3-cli php7.3-fpm php-pear php7.3-dev php7.3-imap php7.3-mbstring memcached php-memcache php7.3-xml php7.3-tidy php7.3-sqlite3 php7.3-xsl php7.3-gmp php7.3-zip php7.3-soapStart PHP-FPM Service
$ service php7.3-fpm startCheck PHP Version
root@dev:~# php -v
PHP 7.3.11-1+ubuntu18.04.1+deb.sury.org+1 (cli) (built: Oct 24 2019 18:23:23) ( NTS )
Copyright (c) 1997-2018 The PHP Group
Zend Engine v3.3.11, Copyright (c) 1998-2018 Zend Technologies
    with Zend OPcache v7.3.11-1+ubuntu18.04.1+deb.sury.org+1, Copyright (c) 1999-2018, by Zend Technologies
5.) Next we need to build the MariaDB v10.3 database server. Just run the following command to install the latest stable version of MariaDB v10.3. Here we will use the official MariaDB repository.
$ apt-key adv --recv-keys --keyserver hkp://keyserver.ubuntu.com:80 0xF1656F24C74CD1D8
$ add-apt-repository 'deb [arch=amd64,arm64,ppc64el] http://mirror.rackspace.com/mariadb/repo/10.3/ubuntu bionic main'
$ apt update
$ apt install mariadb-server
After we successfully installed MariaDB 10.3 database server on the Ubuntu 18.04 LTS, we need to make sure the installation is secure.
root@serv:~# mysql_secure_installation

Enter current password for root (enter for none):
OK, successfully used password, moving on...

Change the root password? [Y/n] n
... skipping.

Remove anonymous users? [Y/n] y
... Success!

Disallow root login remotely? [Y/n] y
... Success!

Remove test database and access to it? [Y/n] y
- Dropping test database...
... Success!
- Removing privileges on test database...
... Success!

Reload privilege tables now? [Y/n] y
... Success!

Cleaning up...

All done! If you've completed all of the above steps, your MariaDB
installation should now be secure.

Thanks for using MariaDB!
root@serv:~#
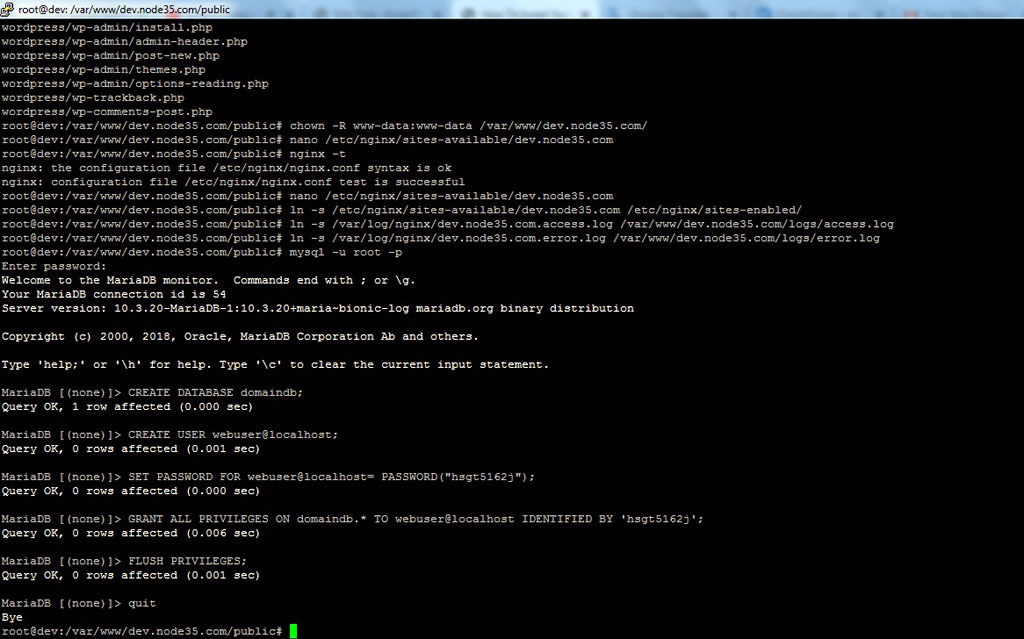
6.) Build your first website on a virtual private server or cloud server using Nginx web server + PHP7.3-FPM and MariaDB. In this guide we will use WordPress and make sure to replace dev.node35.com with your actual domain.
$ mkdir -p /var/www/dev.node35.com/public/ /var/www/dev.node35.com/logs/
$ cd /var/www/dev.node35.com/public/
$ wget https://wordpress.org/latest.tar.gz
$ tar --strip-components=1 -xvf latest.tar.gz
$ chown -R www-data:www-data /var/www/dev.node35.com/
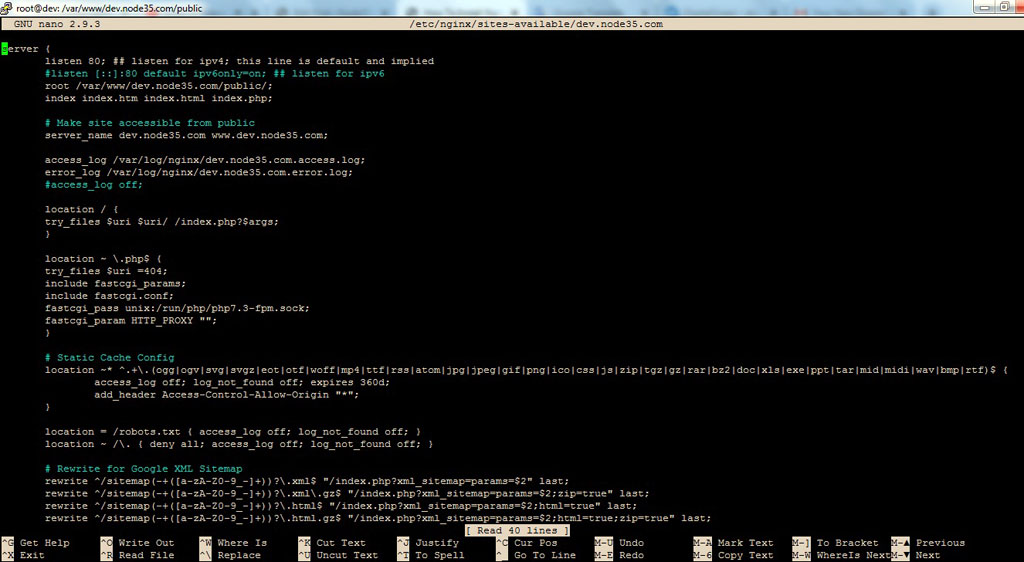
Then we need to create dev.node35.com serverblock:
nano /etc/nginx/sites-available/dev.node35.comserver {
listen 80; ## listen for ipv4; this line is default and implied
#listen [::]:80 default ipv6only=on; ## listen for ipv6
root /var/www/dev.node35.com/public/;
index index.htm index.html index.php;
# Make site accessible from public
server_name dev.node35.com www.dev.node35.com;
access_log /var/log/nginx/dev.node35.com.access.log;
error_log /var/log/nginx/dev.node35.com.error.log;
#access_log off;
location / {
try_files $uri $uri/ /index.php?$args;
}
location ~ \.php$ {
try_files $uri =404;
include fastcgi_params;
include fastcgi.conf;
fastcgi_pass unix:/run/php/php7.3-fpm.sock;
fastcgi_param HTTP_PROXY "";
}
# Static Cache Config
location ~* ^.+\.(ogg|ogv|svg|svgz|eot|otf|woff|mp4|ttf|rss|atom|jpg|jpeg|gif|png|ico|css|js|zip|tgz|gz|rar|bz2|doc|xls|exe|ppt|tar|mid|midi|wav|bmp|rtf)$ {
access_log off; log_not_found off; expires 360d;
add_header Access-Control-Allow-Origin "*";
}
location = /robots.txt { access_log off; log_not_found off; }
location ~ /\. { deny all; access_log off; log_not_found off; }
# Rewrite for Google XML Sitemap
rewrite ^/sitemap(-+([a-zA-Z0-9_-]+))?\.xml$ "/index.php?xml_sitemap=params=$2" last;
rewrite ^/sitemap(-+([a-zA-Z0-9_-]+))?\.xml\.gz$ "/index.php?xml_sitemap=params=$2;zip=true" last;
rewrite ^/sitemap(-+([a-zA-Z0-9_-]+))?\.html$ "/index.php?xml_sitemap=params=$2;html=true" last;
rewrite ^/sitemap(-+([a-zA-Z0-9_-]+))?\.html.gz$ "/index.php?xml_sitemap=params=$2;html=true;zip=true" last;
}Let’s create a symlink
$ ln -s /etc/nginx/sites-available/dev.node35.com /etc/nginx/sites-enabled/
$ ln -s /var/log/nginx/dev.node35.com.access.log /var/www/dev.node35.com/logs/access.log
$ ln -s /var/log/nginx/dev.node35.com.error.log /var/www/dev.node35.com/logs/error.log
Next, create the database and its users.
$ mysql -u root -p$ CREATE DATABASE domaindb;
$ CREATE USER webuser@localhost;
$ SET PASSWORD FOR webuser@localhost= PASSWORD("hsgt5162j");
$ GRANT ALL PRIVILEGES ON domaindb.* TO webuser@localhost IDENTIFIED BY 'hsgt5162j';
$ FLUSH PRIVILEGES;
$ quit7.) Restart All Services
$ service nginx restart
$ service php7.3-fpm restart
$ service mariadb restart OR service mysql restart
Or you can reboot your virtual server after the installation is fully completed.
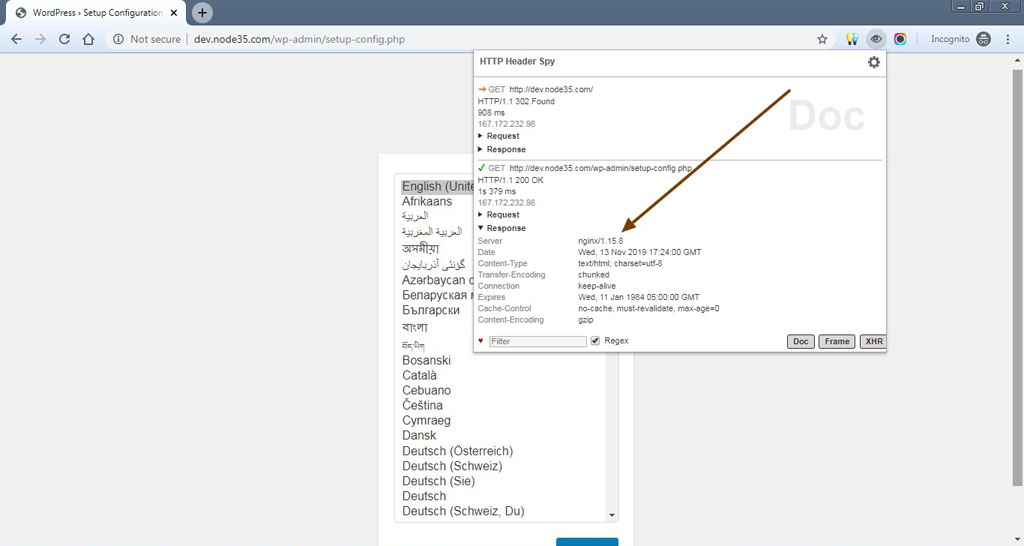
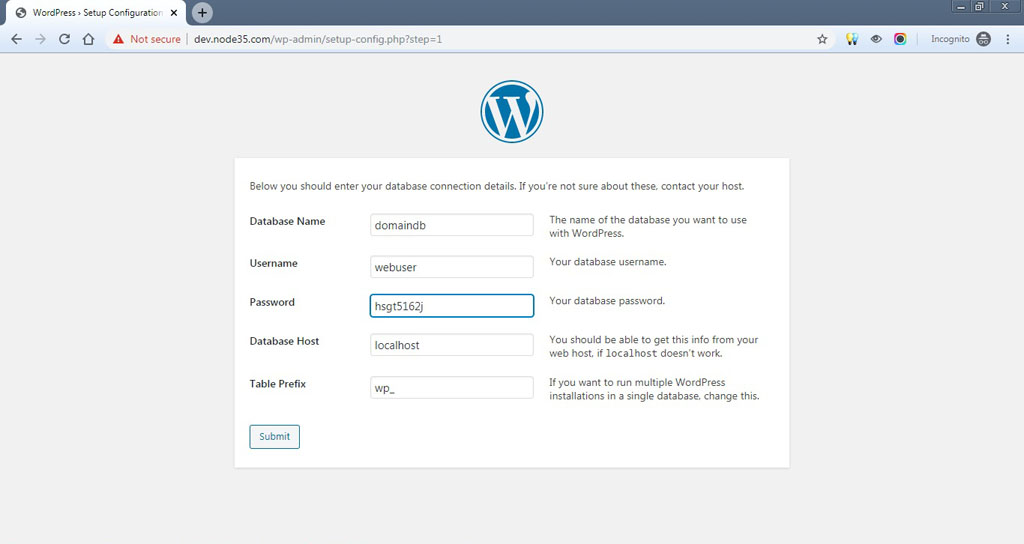
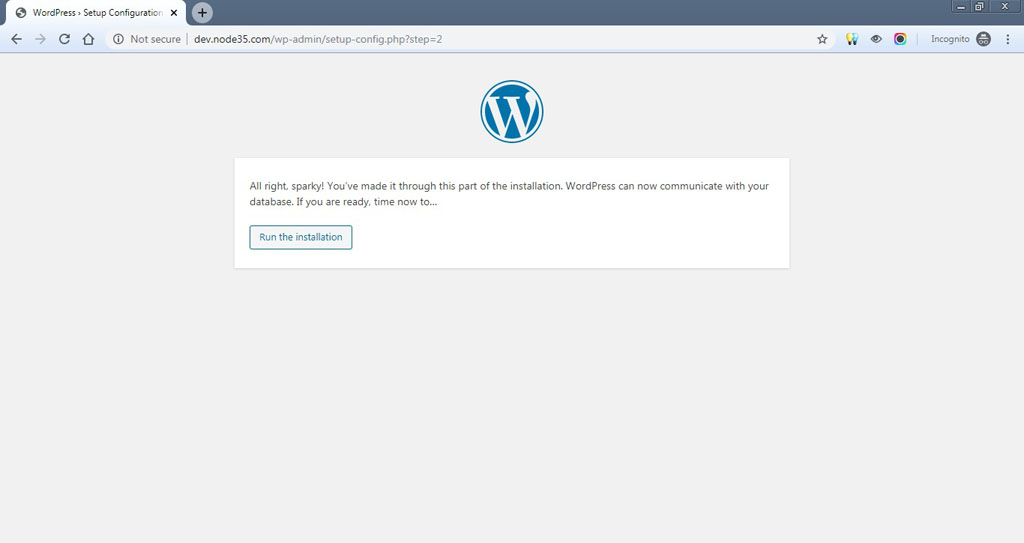
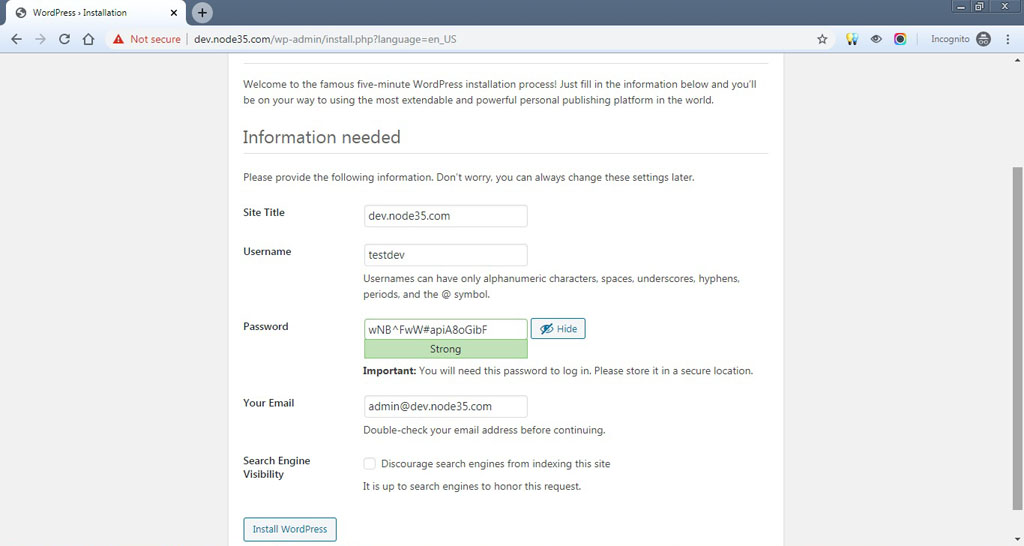
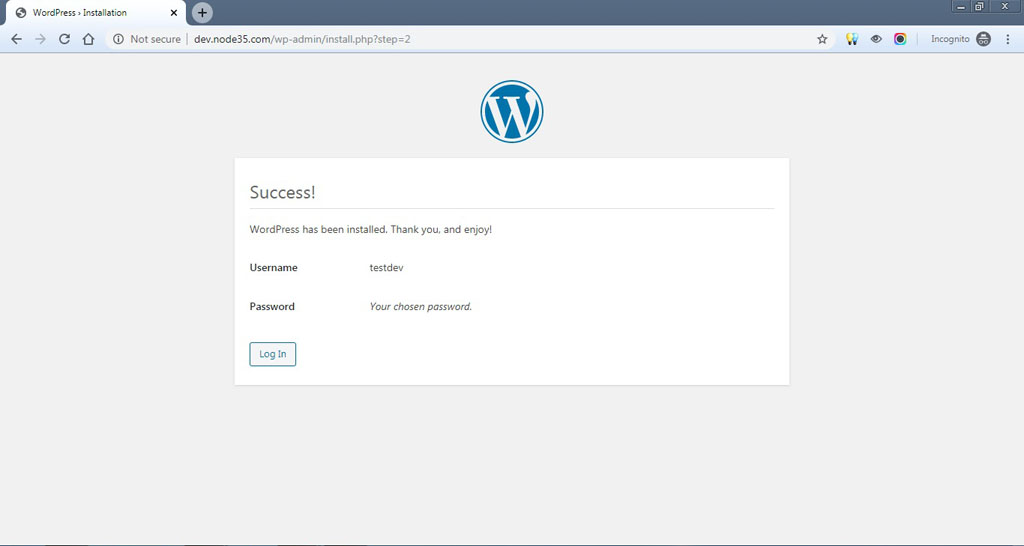
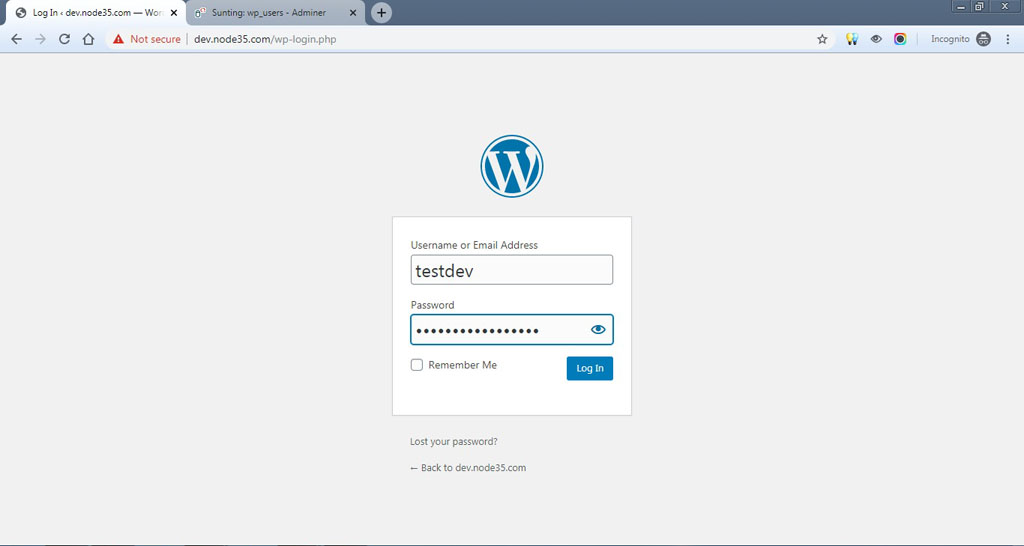
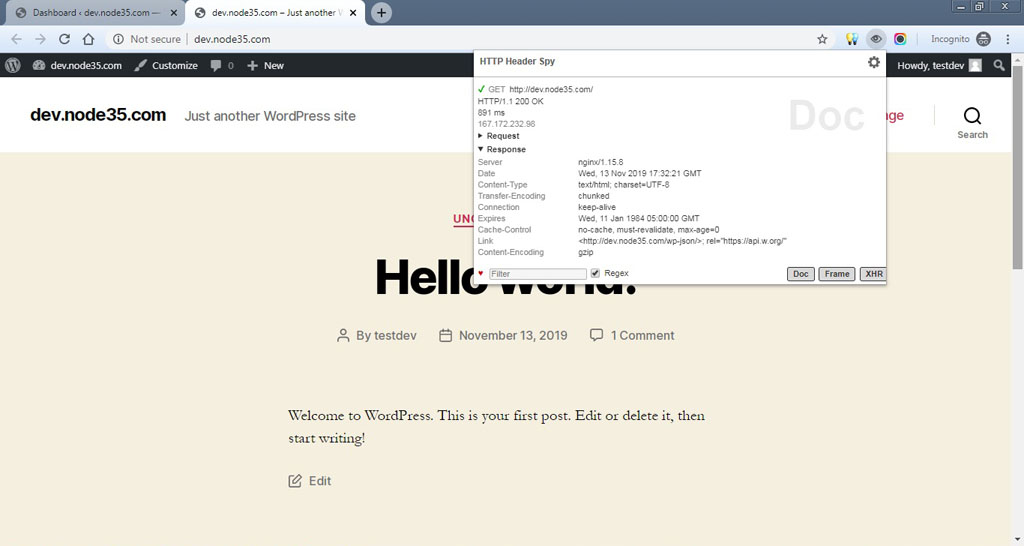
$ reboot8.) Now open the WordPress installation page in your browser, remembering that we installed WordPress manually.
So we need to input the database name, database user, and its password manually in the WP installation column in our browser.

We are a bunch of people who are still continue to learn Linux servers. Only high passion keeps pushing us to learn everything.

